Give your Windows 7 or Vista PC a performance boost
Readyboost is built into Windows, costs nothing and is easy to set up
Introduction
One of the most reliable ways to give a computer a performance boost is to open up the case and add some more memory. We will be showing how to do just that in the next issue of Computeractive, but the process requires some forethought and will take a little time to complete.
However, a beneficial, and not to mention instant, alternative may be right in front of you. Windows 7 and Vista users that have a USB memory key with some spare storage space can make use of a feature called Readyboost.
However, a beneficial, and not to mention instant, alternative may be right in front of you. Windows 7 and Vista users that have a USB memory key with some spare storage space can make use of a feature called Readyboost.
Though not guaranteed to improve performance, Readyboost is built into Windows, costs nothing to try and is easy to set up. In this Workshop, we will show you how.
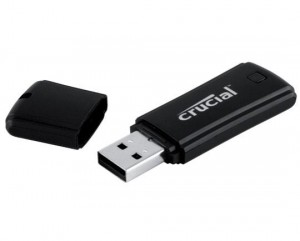 Remember, Readyboost exists only in Windows 7 and Vista, so this Workshop is of no use to users of Windows XP. You will also need a PC with a spare USB2 socket and a compatible memory key. In fact, Readyboost will work with any kind of external storage device – including USB-connected hard disks. But for the best chance of a perceptible performance improvement, use a modern USB memory key.
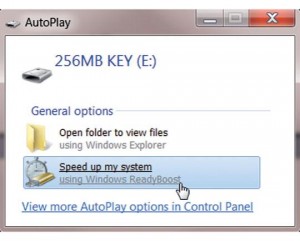 To begin, plug a USB memory key into a spare socket on your PC and wait for a couple of seconds while Windows recognises the device. If this Autoplay dialogue box appears then click the ‘Speed up my system’ option (this option may not appear if the memory key lacks sufficient storage space – at least 256MB is required).
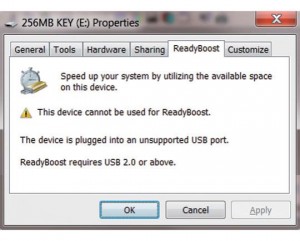 Alternatively, click Start followed by Computer, right-click the relevant drive in Windows Explorer and choose Properties. When the Properties dialogue box appears, click the ReadyBoost tab. Here, we have intentionally inserted our memory key into an older USB 1.1 port – and the Properties dialogue explains the error of our ways. Should you see this message, try inserting the memory key into a different USB port. A different message may appear stating that the memory key ‘does not have the required performance characteristics’, along with a Test Again button. It’s worth clicking this button once or twice, having first shut down other running applications.
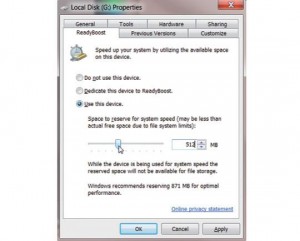 If all is well, then the Readyboost Properties dialogue box will look like this. To devote all the space on the memory key to Readyboost click to select the ‘Dedicate this device to ReadyBoost’ radio button. Otherwise, click ‘Use this device’ and use the slider to reserve an amount of storage for use by Readyboost. Remember, Readyboost needs at least 256MB to work, though Windows also offers its own recommendation (at the foot of the Properties dialogue box). Click OK.
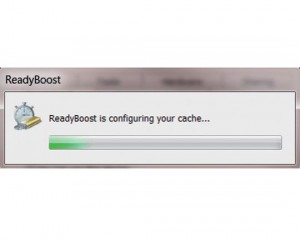 Readyboost will now prepare the space it needs on the memory key, displaying this progress bar. The process could take a few minutes if the reserved space is large. When it’s done, Readyboost begins work automatically, so just use your PC as normal. Remember, there is no guarantee that Readyboost will make a difference. The potential for performance improvement depends on many factors, not least being the speed at which your memory key operates. If aspects of it work significantly faster than the PC’s hard disk drive, then you may benefit. This is because Readyboost’s primary trick is to ‘cache’ data frequently launched from the hard disk.
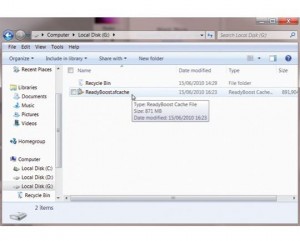 Assuming the memory key’s entire capacity was not handed over to Readyboost (in Step 4) then it can continue to be used for storage of other files and folders. However, while navigating the drive in Windows Explorer you may see a file called ReadyBoost.sfcache – do NOT delete this. If you later decide to give up on Readyboost and wish to reclaim the space, right-click the relevant drive letter in Windows Explorer, choose Properties, click the ReadyBoost tab, select the ‘Do not use this device’ radio button and click OK.
e-News® xClusive


